The Process
Here are the basic steps I used to make
the picture of Meg at my fictitious party.
(Obviously, there were many, many little steps in between these, but
I didn't want to save it as a new picture every second! =))
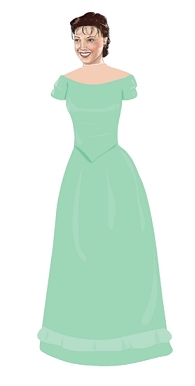
Step One
(Note: All of these pictures were bigger when I drew them.)
I used the head of Meg from the other computer
drawing I did of her.
Drawing on a different layers on Paint Shop Pro 7, I used the draw tool (with
curve tracking) for the dress and skin.
I had imagined ahead of time (for my story) basically what the dress would look
like.
(Poor Meg, she has no arms or hands!)
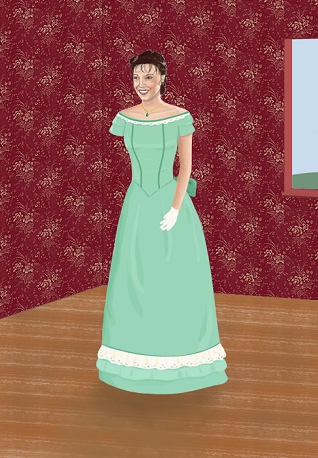
Step Two
I added lace and ribbon accents to Meg's dress and changed her
shoulders and sleeves a bit.
On 3 different layers, I filled in/drew the walls, floor, and
window.
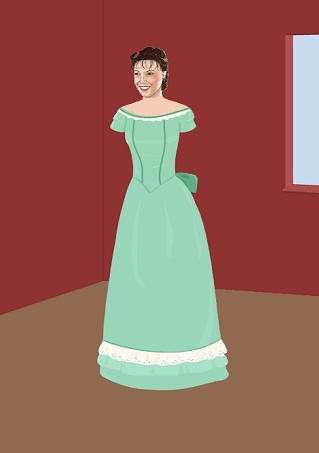
Step Three
I added more shading on the dress.
I used a free internet background to make the wallpaper, using the
"skew" effect to fit the walls.
I filled the floor layer with the PSP woodgrain texture, shrinking and skewing
it to fit.
I painted in the shadow beneath Meg, using opacity so it wouldn't be too dark
and would be see-through.
I drew in the arm and gloved hand on separate layers, using the softening tool.
I drew in details and shading on her neck/shoulders and added a necklace.
("Oh, no! She's mutilated! What happened to
her other arm?
Are you going to leave her like that?"
As my brothers/brother-in-law said when I was working on it.)
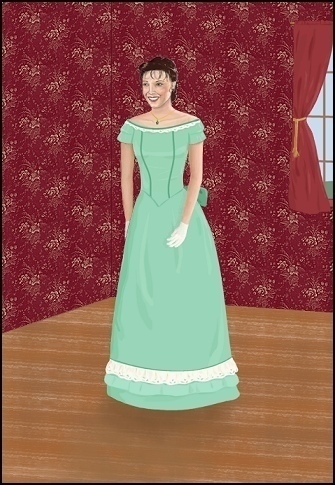
Step Four
Phew! Finally Meg is functional!
I drew her other arm, made the window taller, and drew the curtain.
I changed the shape of and shaded Meg's glove.
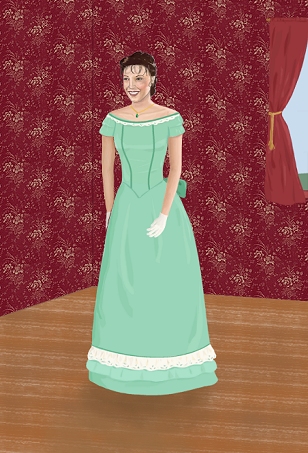
Step Five
I added the window bars, changed the shape of Meg's right arm (on the left to us), and added a shadow by her left arm and hand.